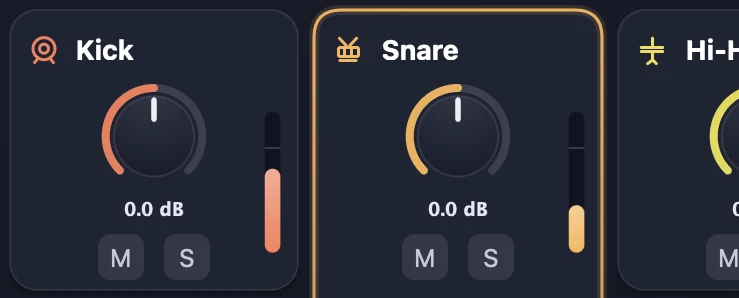
Most separation tools split a whole song into four or five broad parts, and the drums are just one of them. ReStem puts all of its attention on the kit instead. You get kick, snare, hi-hat, toms, ride, and crash on separate stems, plus a seventh stem for anything in the recording that isn't a drum.
The Other stem catches everything else in the recording, whether that's guitars, vocals, room rumble, or the singer counting in. None of it gets thrown away, so you can always hear it, solo it, and keep it.
The "Good" quality mode separates the drums live while your session plays. With only 360 ms of latency, the live mode lets you use ReStem in real time while you mix. Your DAW automatically compensates for the latency, making everything line up perfectly.
The two offline modes trade a little speed for more quality. "Better" mode renders the whole file and comes out cleaner than the live mode. "Best" mode offers the best quality available, taking more time to deliver separation that works with audio that contains a lot of bleed from other instruments.
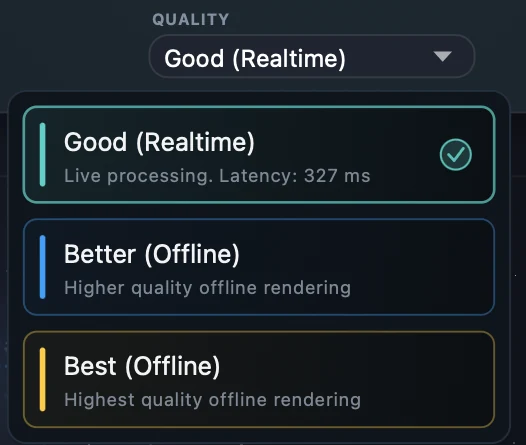
The drums separate as the track plays, so you hear the stems right away. It's the quickest way to work.
Renders the whole file for cleaner results than the live mode can give you. Now twice as fast as the previous ReStem version.
The best quality ReStem offers. It takes a little longer, and it holds up best on messy recordings with a lot of bleed from other instruments.

The Separation Map gives each drum its own constellation, which lights up whenever a hit is detected. Its layout reflects the sound of the kit: deeper drums appear toward the left, brighter drums toward the right, harder hits rise higher, and wider sounds create broader clusters of stars. It's a quick, intuitive way to see what ReStem 2 has separated from the recording, and it makes a pretty good screensaver when the band walks in.

Every stem has its own gain, mute, and solo, which is enough for quick balance changes right inside the plugin. When you want to go further, you can pull the whole separated kit out as a multitrack session: in Pro Tools each stem feeds its own output bus, and in any other DAW you can drag the finished stems straight onto their own tracks.

Offline renders run in their own separate process on your computer, kept apart from your DAW, so your sessions play smooth while your stems are extracted. On Apple Silicon Macs, the render runs on the GPU using Metal, resulting in extremely fast separation, and on Windows it uses NVIDIA cards from the RTX 20 and GTX 16 series onward. Older machines, and any computer without a supported GPU, render on your CPU instead. That takes longer, but you get exactly the same quality in the end.